GalMakes
The Real World
Diving into electronics can feel overwhelming — so many wires, parts, and tools. This guide breaks it down into the core components you’ll actually use. Whether you’re just prototyping on a breadboard or ready to solder your final build, here’s your go-to list of what to grab, why it matters, and a few pro tips along the way.
Setting Up Your Workspace
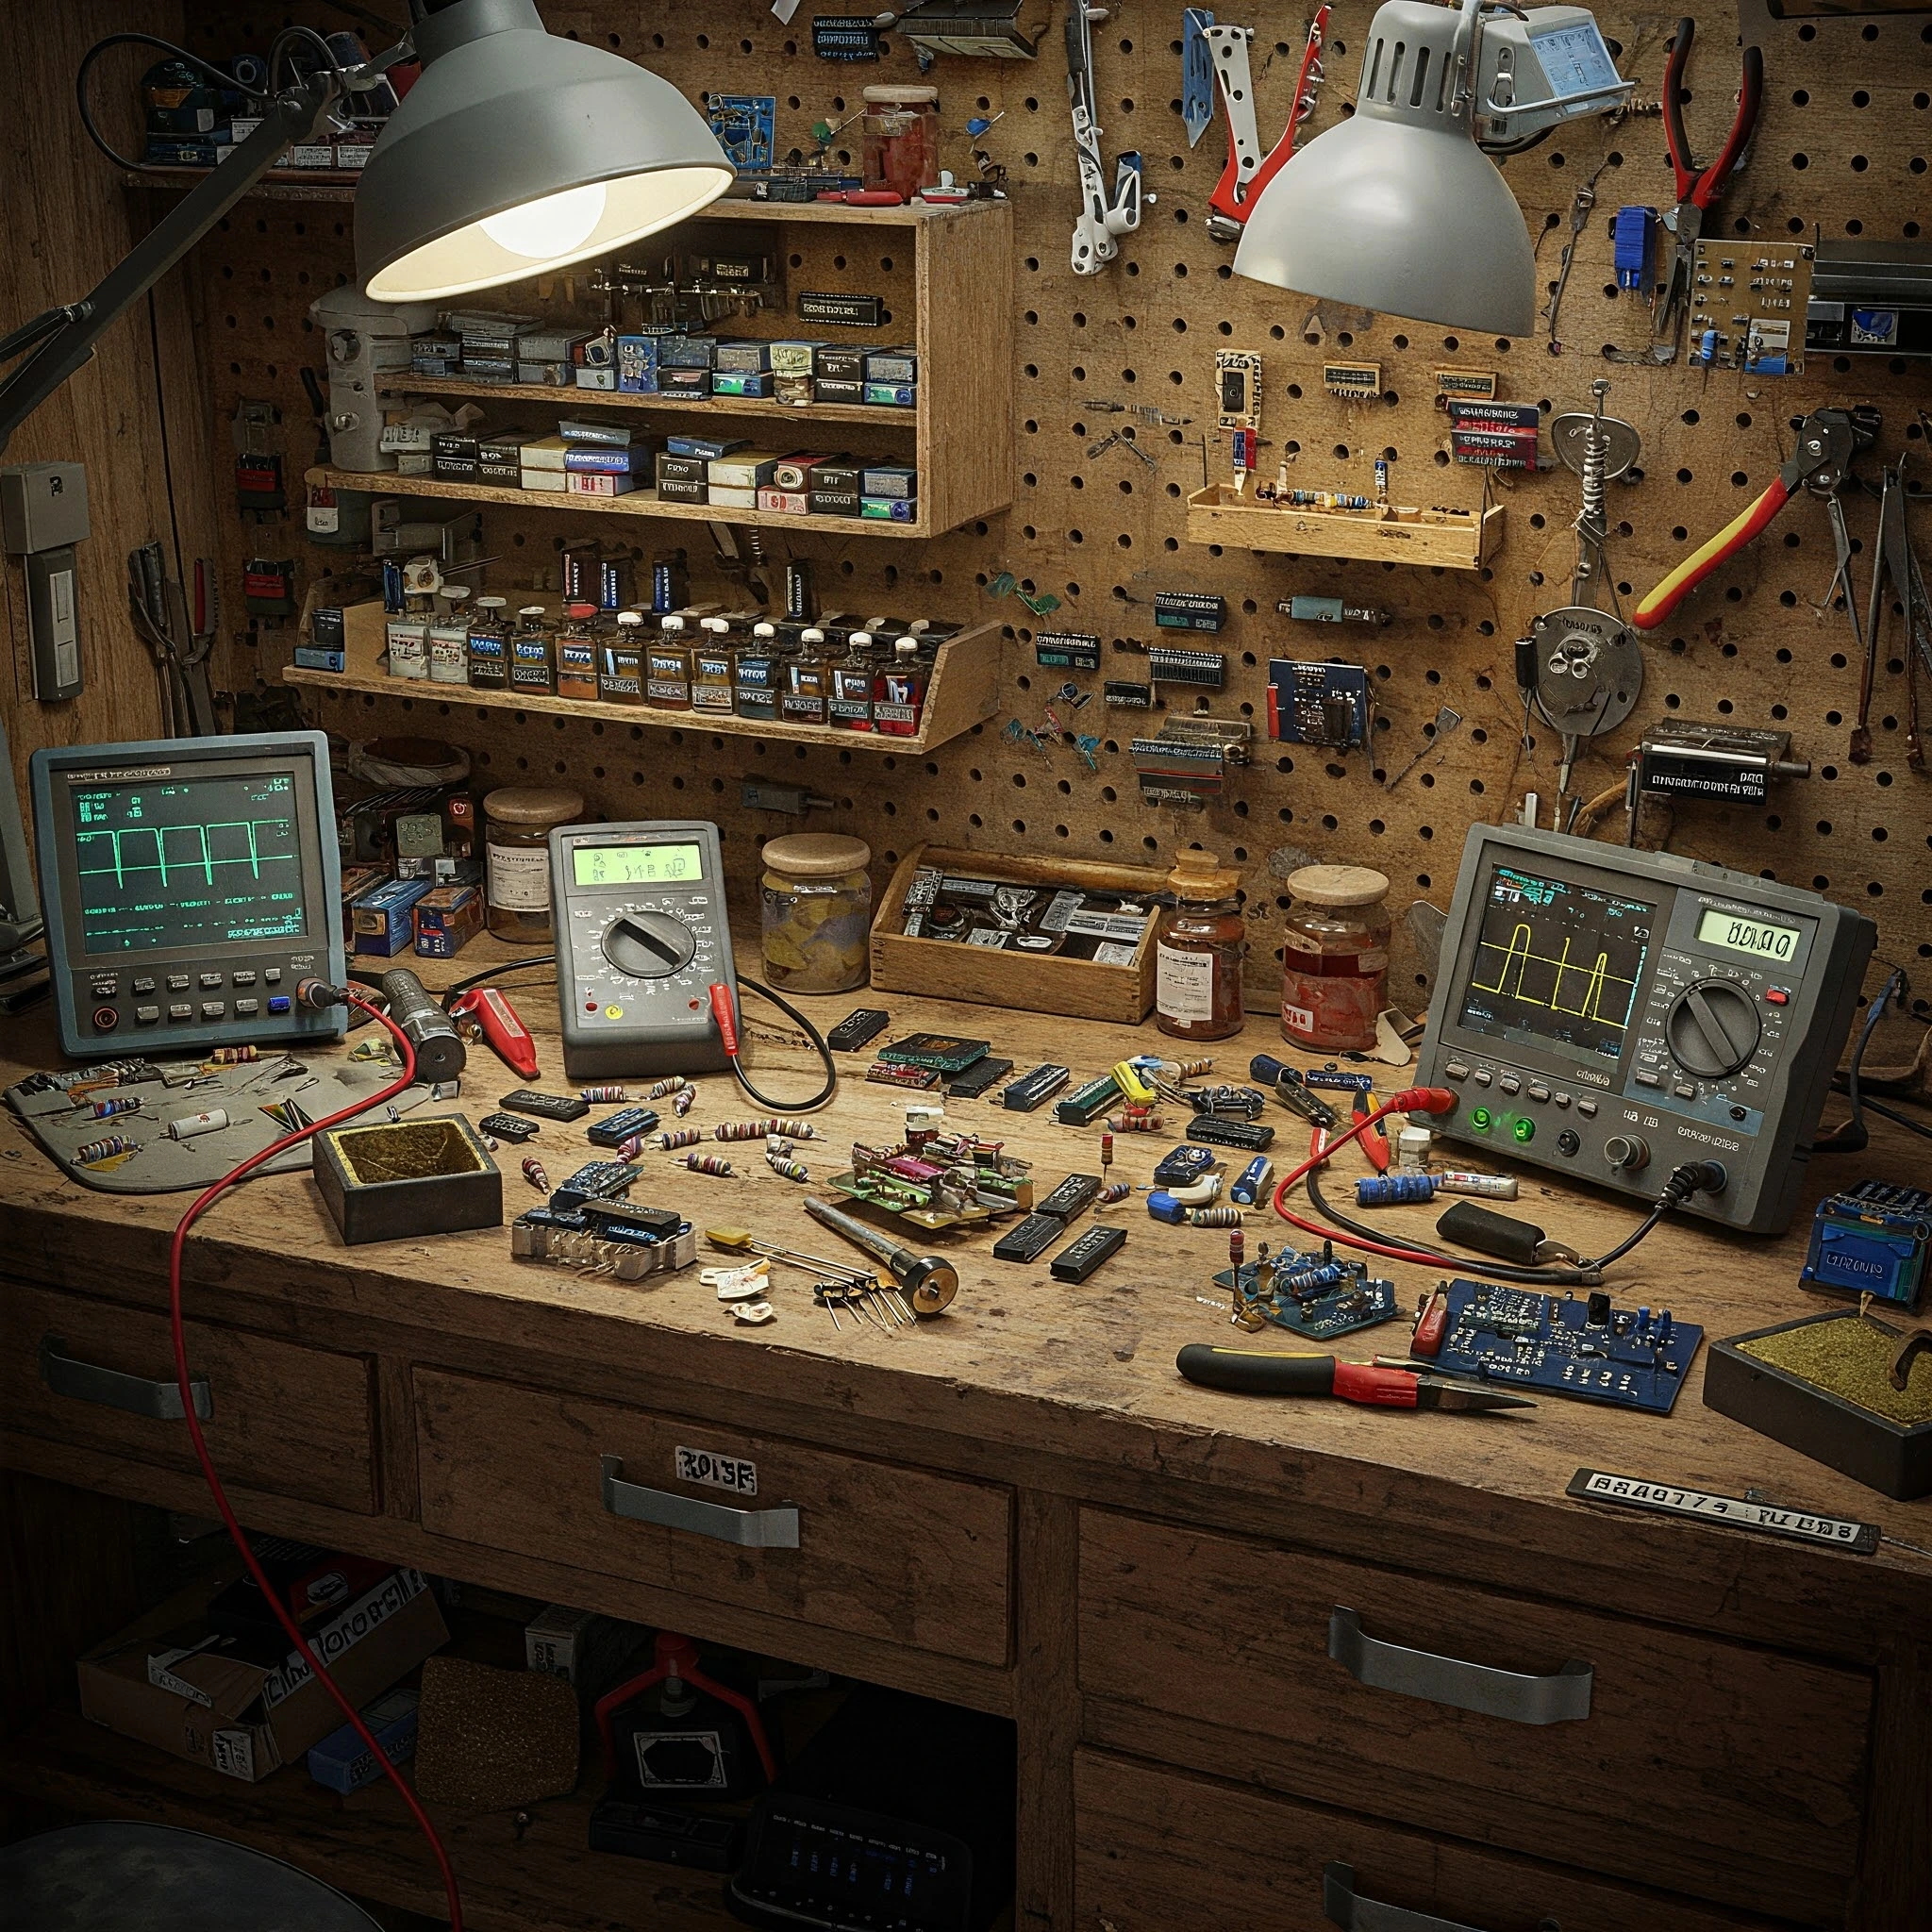
When I first started working with electronics and Arduino, I used to work at the kitchen table. Wires everywhere, tools mixed up with the salt shaker, and I'd always have to pack everything away before dinner. I'm kidding—my wife didn't let me work outside the office room. So from day one I worked at my desk, but the day-to-day setup was not fit for my needs. It didn't take long for me to realize—I needed a proper workspace. If you're getting into electronics, trust me, setting up a good work area is one of the best things you can do. It'll keep you safe, help you stay organized, and make your projects way more enjoyable. So let's walk through what you really need to build your own electronics space—nothing fancy, just smart, simple, and safe.
🧰 The Gear You Pack for the Journey
Now let’s dive into the basic tools you’ll need to start building your own electronics projects. I’ve put together a list of essentials — simple, beginner-friendly tools that’ll get you up and running. These should cover most of the early projects you'll take on, and they’ll grow with you as your skills improve. The fun part? You’ll constantly be discovering new modules and sensors that fit your ideas.
Exploring, learning, and adapting is what makes this journey so exciting!
🧱 Breadboard
Think of this as your electronics playground. No commitment needed — just plug in components to test your ideas. No soldering, no stress. If something doesn't work? Simply unplug and try again.
I personally love working this way because you can create a visual order. Most of the time, when you move on to the real assembly, the modules and wires won’t look as pretty or clean as they did on the breadboard.
🔌 Jumper Wires
These connect different modules, power sources, and components on your breadboard.
I like using thicker wires (24 AWG) during prototyping — they’re easier to manage — and thinner ones (34 AWG) for the final assembly to keep the product clean and compact.
Try using different colors for clarity; it helps you remember each wire’s purpose.
✂️ Wire Cutters
Components often come with long leads. This tool keeps your project neat, safe, and free from metal spaghetti.
It’s also handy when you need to hold something tiny during assembly.
Pro tip: you can also use the cutter to gently strip wire insulation if you’re careful — otherwise, use wire strippers for a safer, easier job.
📟 Multimeter
Not all electronics work perfectly out of the box. Sometimes components behave differently than expected, and not everything gives you a visible clue.
This tool is your detective — it tells you if electricity is flowing, helps find broken connections, and lets you measure voltage or resistance. A must-have for troubleshooting.
🧂 Resistors
Let’s be honest — if you're just starting and didn't learn electronics in school or university, resistors can be confusing.
Remember: Ohm’s Law → I = V / R.
Most modules include a datasheet that tells you if you need a resistor between the module and the rest of the circuit. These little components control current flow and protect things like LEDs from getting fried. Like traffic officers for electrons.
🧈 Capacitors
Think of these as tiny energy buckets.
They help smooth out electricity, prevent flickering, and keep signals stable — especially for buttons or sensors.
Like resistors, datasheets will usually tell you when and where to use them.
💡 LEDs
Working on a project without any visual feedback isn’t fun.
LEDs give you instant info: is something working? Is power flowing? Did a sensor trigger?
They’re satisfying and essential — and also a great way to test your code or circuit quickly.
🔘 Push Buttons
This is how you interact with your project.
Each press is a command — turning something on, off, or switching modes.
Buttons come in different states: usually-open (HIGH) or usually-closed (LOW). As you start designing, you’ll figure out which one suits your needs.
⚙️ Motors (Servo / DC)
Electronics are cool, but once you add motors, it gets really exciting.
Motors are your project’s muscles.
- Servos move to precise angles (great for robotics and control).
- DC motors just spin — useful for fans, wheels, etc.
If you want to go advanced, look into stepper motors and motor drivers.
🧠 Microcontroller (Arduino / ESP32)
Everything you’ve built needs a brain to give commands and read inputs. That’s your microcontroller.
- Arduino is great for beginners — lots of tutorials and a strong community.
- ESP32 is like a supercharged Arduino, with built-in WiFi and Bluetooth.
🧵 USB Cable
This connects your microcontroller to your computer.
But not all USB cables are equal — some are power-only and can’t transfer data.
For coding, you need a USB with four wires:
- Red & Black = Power
- White & Green = Data
Always check your cable if uploading code fails!
🚀 Boost Converter
I like using just one power source per project — keeps things simple.
A boost converter helps step up a small battery (like 3.7V) to whatever your project needs — 5V, 9V, etc.
You’ll find lots of compact boost converters for small projects — very handy!
🔊 Speaker + DFPlayer
Not essential — but definitely a cool upgrade.
The DFPlayer Mini makes it super easy to add sound. Just load MP3 files onto a microSD card and hook it up.
It even has a built-in amplifier. Want inspiration? Check out "Arduino Musical Keyboard" projects online.
🔌 Power Supply
Eventually, your project will leave your desk and become portable.
That’s when you’ll want a battery.
I recommend small lithium batteries (3.7V) that you can boost to 5V or 9V as needed.
For tiny projects, 500mAh works well. If you want longer life, just increase the capacity (mAh).
🛠️ Making It Real
🔥 Soldering Kit
Once your prototype is solid and you’re ready for a final build (maybe inside a 3D-printed case), it’s time to solder.
Soldering locks all components in place and creates strong, long-lasting electrical connections.
Double-check connections, clean up stray wires, and test often with your multimeter to make sure nothing’s shorted.
📓 Notebook or Notes App
Write everything down — pinouts, diagrams, what worked, what didn’t.
Future-you will be so grateful.
Also, writing helps you think. It’s a great tool for solving problems and planning out your builds more clearly.
💻 Laptop / PC
Besides researching ideas and debugging problems, you’ll need a computer to run the Arduino IDE, write your code, and upload it to the microcontroller.
Almost any PC will do. If your computer is old or slow, the regular Arduino IDE works better than VS Code.
🧘♂️ A LOT of Patience
Circuits don’t always work the first time.
Wires come loose. Code has typos. Components die.
Take breaks. Breathe. Google stuff. Try again.
That “YES! It works!” moment is what makes the journey so worth it.
Materials
- ESP32-C3 Super Mini$2.99
- Multimeter$6.00
- Breadboard$1.75
- Jumper Wires$1.85
- Wire cutters$1.95
- Resistors$2.00
- Capacitors$2.90
- LEDs$1.62
- Push buttons$0.85
- Servo motors$5.20
- 34AWG Wire$1.45
- Boost Converter$1.24
- Soldering kit$6.60
- Lithium Battery $4.59
- DFPlayer Mini$1.85
- Micro SD Card$5.00
- Speaker$1.98
- Charger$1.24
- DC motors$1.85
- Wire strippers$8.20
- Total Cost$61.11